

3 Steps to Frictionless TDD with Jest and VS Code
A simple workflow to make testing less painful


If you're looking to make writing your Jest tests easier in VS Code, look no further. In my quest to optimize my testing, I've tried several approaches, but I always come back to this workflow.
1. Configure VS Code
No more tiny terminal squeezed at the bottom of the editor. View your terminal and test file side by side by dragging the terminal to the action bar.
2. Target a Single File in Watch Mode
Jest watch mode will automatically re-run your tests when anything changes. Provide it a file name or pattern to limit what files are ran. Here we're running just the "string" file.
jest --watch string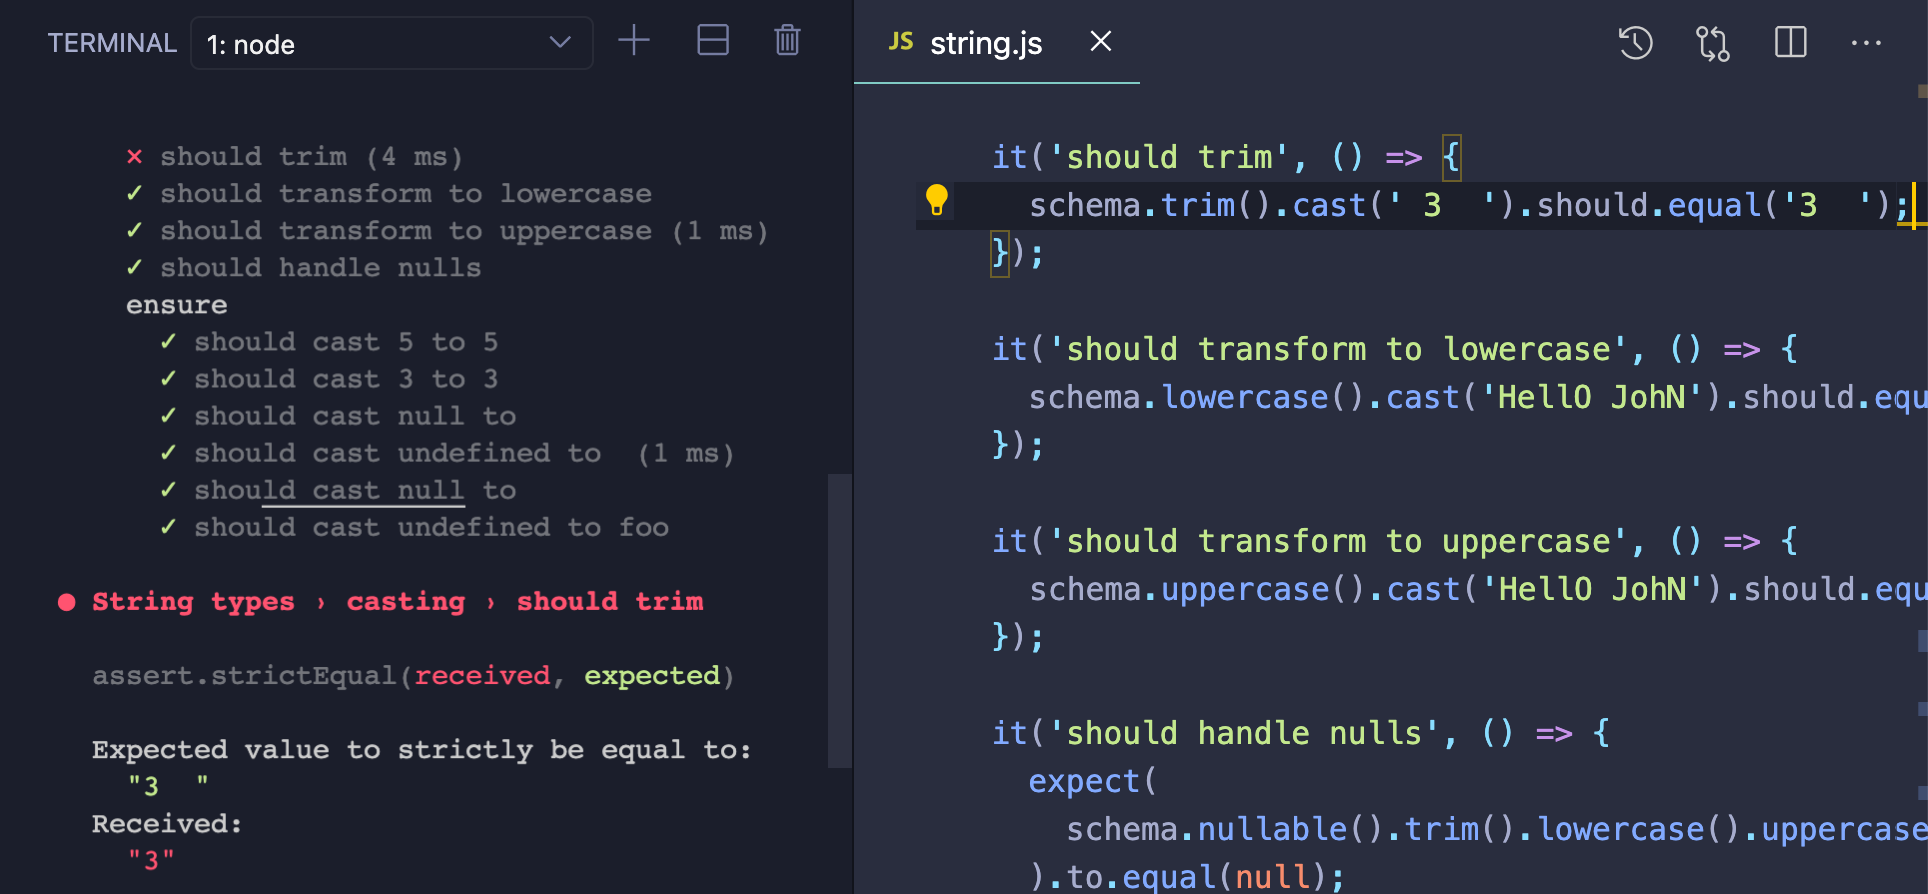
Something to note here is that "string" will match on folders and file names. There are various ways to target different test files to run. Check out the Jest Docs to learn more.
3. Focus on One Test
You may have used it.skip to skip certain tests, but we can also make it run a certain test with it.only. In this case, we're focusing on the "should trim" test.
it.only('should trim', () => {
  schema.trim().cast(' 3  ').should.equal('3');
});
Make your test pass, and go back to step 2!
P.S. Don't forget to remove .only before you run jest --coverage, or you'll have a heart attack when your percentage drops to nothing.
Summary
- Setup VS Code to show your terminal side by side with your test
- Focus on a single test at a time to reduce noise in the terminal and boost your productivity
Happy testing